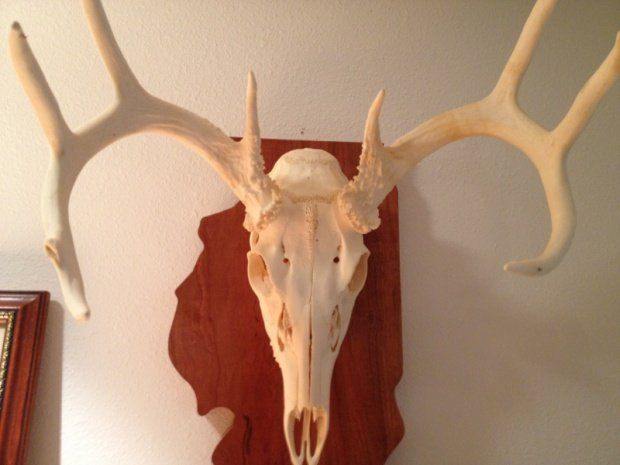
How To Bleach A Deer Skull
To bleach a deer skull, first clean it thoroughly, then apply a hydrogen peroxide solution. Ensure proper ventilation and use gloves for safety during the process.
Preparing a deer skull for display is a meticulous task that requires attention to detail. Bleaching, commonly mistaken with the use of actual bleach, actually involves hydrogen peroxide to achieve the desired whiteness without damaging the bone. This step-by-step guide provides hunters and taxidermy enthusiasts with essential tips for safely and effectively bleaching a deer skull.
The process not only enhances the skull’s aesthetic appeal but also ensures its longevity as a treasured mount. Embracing the right technique is crucial for achieving professional-looking results that honor the animal and the hunter’s skill.
Bleaching A Deer Skull: Diy Guide
Bleaching a deer skull requires meticulous attention to detail to ensure both the safety of the user and the integrity of the bone. Utilizing the correct bleaching techniques is pivotal to prevent damage to the skull and achieve the desired aesthetic result. Ensuring proper bone care is equally crucial to maintaining the quality of the specimen.
When handling bleach, always wear protective gloves and work in a well-ventilated area to protect from harmful fumes. It’s essential to use the appropriate concentration of bleach for the task — too strong a solution could compromise the skull’s structure, while too weak may not adequately whiten the bone. Consistent application and patience are key in obtaining an evenly bleached skull, free of discoloration and imperfections.
Preparing The Skull For Bleaching
Preparing your deer skull for bleaching involves a series of crucial steps to ensure the best possible result. Firstly, gather all necessary materials and equipment such as gloves, a large pot, hydrogen peroxide, and a cleaning brush.
The initial cleaning is about removing flesh and debris that can hinder the bleaching process. Use a knife or scalpel to carefully trim away any remaining tissue, taking care not to damage the bone. Boil the skull in water mixed with an enzyme cleaner to help loosen and remove stubborn material.
Degreasing is essential before the actual bleaching as fats and oils trapped in the bone can cause discoloration. Soak the skull in a warm, soapy water solution or a specialized degreasing agent. This may need to be done repeatedly depending on the amount of grease present in the skull. Patience is key in achieving a clean white finish without compromising the integrity of the skull.
The Bleaching Process Explained
Bleaching a deer skull requires precision and the proper selection of materials. Initially, ensure you have non-chlorine bleach at hand, which is gentler on bones compared to its chlorine counterpart.
For even coverage, apply the bleach using a paintbrush or a spray bottle. This method allows you to control the amount of bleach on various parts of the skull, preventing over-bleaching. It’s important to cover all areas thoroughly, especially the hard-to-reach crevices, to achieve a uniform look.
| Step | Action | Notes |
|---|---|---|
| 1 | Prepare the Skull | Clean and remove all flesh before bleaching. |
| 2 | Select Bleach | Opt for non-chlorine bleach for safety. |
| 3 | Application | Use a brush or spray for an even coat. |
| 4 | Drying | Allow the skull to dry completely. |
Achieving The Perfect Finish
The process of bleaching a deer skull requires close attention to timing to achieve the desired aesthetic without compromising the integrity of the bone. Monitor the progress carefully, checking regularly to ensure the bleach is not over-applied. Ideally, the bleaching should result in a uniform white coloration without weakening the skull.
Neutralizing the bleach is a critical step following the actual bleaching. This will prevent any potential damage to the skull. A solution of baking soda and water can often effectively neutralize the bleach, ensuring that the chemical reaction stops and there is no further risk to the bone structure.
Conduct a thorough final cleaning to remove all traces of bleach residue. This not only safeguards the skull but also prepares it for display or further treatment. Clean water and a gentle brush can be used to meticulously wash away any remaining bleach, ensuring the skull remains pristine and undamaged.
Maintaining Your Masterpiece
Maintaining your deer skull after the bleaching process is crucial for ensuring its longevity and preserving its aesthetic appeal. Below are some long-term care tips to keep your masterpiece in top condition:
- Avoid direct sunlight and high humidity areas to prevent discoloration and deterioration.
- Dust the skull regularly with a soft brush or cloth to maintain its clean appearance.
- Use mild, non-abrasive cleaners when necessary, and ensure thorough drying to prevent mold growth.
- Consider displaying the skull in a glass cabinet or case to protect it from environmental contaminants and accidental damage.
Encountering issues during bleaching can be frustrating. Common problems, such as uneven bleaching or damage to the bone, are often avoidable with proper technique. Regularly check the skull during the bleaching process to monitor its progress and make adjustments as needed. In case of over-bleaching or undesired results, consulting with a professional taxidermist can provide valuable insights and corrective measures.
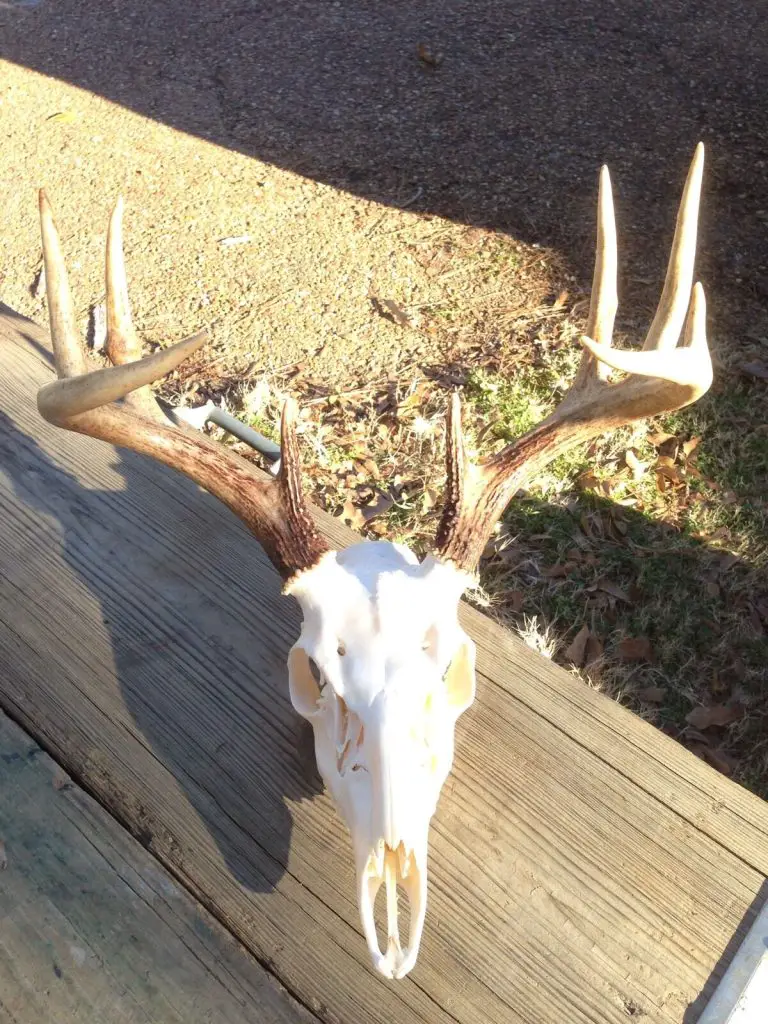
Frequently Asked Questions On How To Bleach A Deer Skull- A Comprehensive Guide
What Materials Are Needed For Bleaching A Deer Skull?
To bleach a deer skull efficiently, you’ll need hydrogen peroxide, a plastic tub, gloves, water, and a brush. High concentration peroxide delivers the best results. Ensuring you’ve got the right materials is crucial for a successful bleaching process.
How Long Does The Bleaching Process Take?
The bleaching process for a deer skull typically takes 24 hours. This includes soaking time and a few hours for the hydrogen peroxide to work. Checking the progress periodically helps achieve the desired whiteness without over-bleaching.
Can You Bleach A Skull With Hair Still On It?
No, it’s essential to remove all flesh and hair before bleaching. The skull needs to be clean to ensure the bleach works effectively. Any remaining tissue can impede the bleaching process and lead to unsatisfactory results.
Is Natural Bleaching An Option For Deer Skulls?
Yes, natural bleaching by exposure to sunlight can be used, but it’s less effective. This method takes longer, often several days or weeks, and it delivers less consistent results. Hydrogen peroxide provides a more controlled and faster bleaching process.
Conclusion
Bleaching a deer skull might seem daunting, but it’s within your reach. By following this detailed guide, you’ve gained the know-how to achieve impressive results. Remember, patience and precision are your allies in this process. Whether for display or study, your skillfully bleached skull can now take pride of place.
Happy crafting!

